Visit my new blog

I´ve decided to split my blog in two. I will continue to post DIY projects and musings here, but (serious) pictures, taken on film of course, will be posted in my new blog "Silver Halides"

I now consider Caffenol to be a developer like any else. As such the new blog will focus more on the pictures, rather than the process.

Thursday 7 May 2015

Caffenol C-M and C-H (RS/RSA)


Reinhold of Caffenol.Blogspot.com fame has been so kind as to post an article I wrote on how the RS and RSA versions of his recipes came about, and why I named them as I did.

Hello coffee (ab)users, 
I'm very happy to present Eiriks report about his reduced soda/ascorbic-acid versions. Have a nice reading, and I recommend visiting his sites linked below. He's a great photographer and a very nice guy. Thank you so much, Eirik.
Happy developings - Reinhold

That's what Eirik wrote:
I promised Reinhold a long time ago I would write an article on the (RS) and (RSA) versions of his recipes.
Like many others, when I started out with Caffenol I perused the net for tips on where to start. I concluded pretty early on that these 8tsp of this, a pinch of that, and a cup of other recipes, were not going to cut it for me. Reinhold’s precise and predictable recipes however were exactly what I was looking for. In addition to reading everything on his blog, I joined a Caffenol group on Flickr, and a long ongoing thread on the Scandinavian APUG forum to discuss and share experiences.

I like to be accurate in my work, but I am also lazy. So I soon tried out premixing Caffenol, instead of having to dissolve powders and mix them up for every development. My approach was to dissolve the ingredients in larger quantities and store them in light and airtight bottles. Then mix them, one third each, when developing. For this to work, each solution had to be 3 times the prescribed strength. And it worked well. The ingredients did not go off as quickly as some had thought. The coffee started to develop mold at 8-12 weeks, and the ascorbic acid oxidized gradually to be useless after 15-20 weeks. The soda kept forever, but was susceptible to crystalising in my storage space in the basement in cold weather. Evidently this was due to the combination of higher concentration and low temperature. In warm weather the soda was stabile...................

Continued here: Caffenol C-M and C-H (RS/RSA)

Sunday 9 February 2014

6x24 pinhole camera?

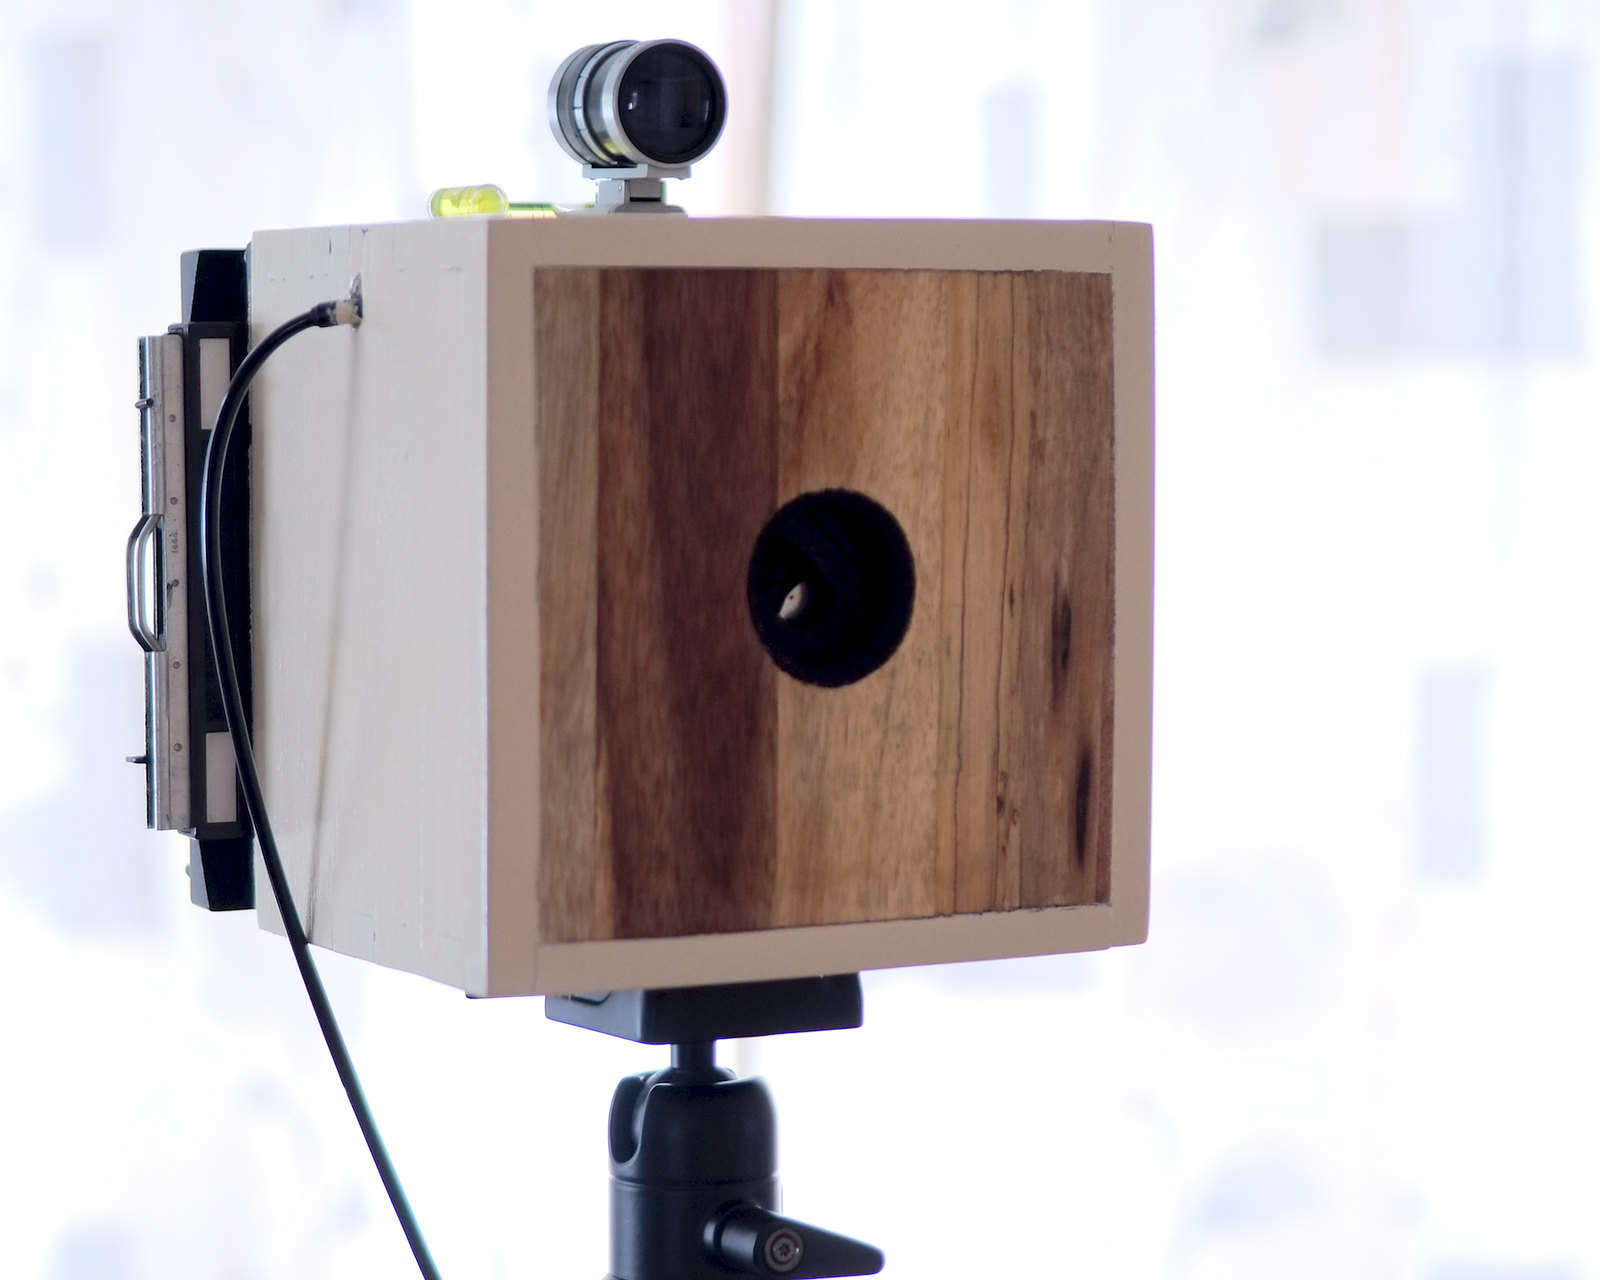
DIY it? Well yes, why not? Inspired by my success with the "I Adore" 6x17 made from a Cognac case, a Vermeer 6x17 curved film plane pinhole camera, and a by no means subtle hint from a friend who sent me a wine bottle case with a pinhole drawn on one side.

A wine bottle case then. This would be easier than the 6x17, eeh well. Maybe not. This is the kind which is hinged and has a half open front. Very tall though, so I thought maybe it had potential for something wider than 17cm. 24 maybe? But at the same time, shallow, maybe 85mm or so. So the focal length would not be that substantial, also limiting the image circle to much less than 240mm.

OK, how about a curved film plane? That might help a bit. But a little basic geometry calculations later, I found out that the circumference of a half circle with a radius of approx 85mm would be approx 267mm.  240mm film plane would require 163 degrees field of view. Hmm, not sure that the pin hole would cover that.

What if the film plane was curved, but not quite semi circular? OK, the edges would need to be farther away from the pinhole than the centre, but that would be the case with a flat film plane too. 85mm centre, and 105 at the edges would´t be that bad. And distortion may not be that noticeable. As to vignetting, there will necessarily be a bit, but without testing it, I would never know.  Ahh well, no guts no glory.

The case

The case

Lost the hinges, I needed the two halves to slide together. I then clad the inside of the top (to become the front), with 3mm ply. Drilled a rather large hole for the pin hole opening, to avoid vignetting (as the pinhole would be behind the front panel).

Testing out a film gate made of foam core
Foam core insert, top, film gate, and bottom

Test fitting the insert, good thing the leader is long


Used foam core to make an insert. The film guides at each end of the film gate are made out of threaded rod clad in heat shrink. The film is threaded underneath the guides so that it is kept flat against the gate. Spool holders are made of 5mm machine screws. The bottom set function as pins on which the film spool can rotate. The upper set are both winders. The screws have had their heads filed down to a flat spade shape and enter the spool for winding, they are also retractable to enable film loading


Insert, spool holders and advance knobs

Insert in camera, can be removed

Innards painted a flat black. 0.500mm pinhole. Guillotine shutter made of cardboard, a foot fashioned after the quick release plate for my tripod. A couple of latches to keep it closed and finished it is.

Nothing to it!

Ready for some film, top view

Front and back, film numbering reminder
Mounted on a tripod, ready for work

Test shot no1

Test shot no2
Quite happy with the results, it sure is wide. And the vignetting is certainly visible, but less so than I feared. Anyhow, pin hole images with no vignetting doesn't seem right.


EDIT, 12.02.2014: Added a diagram showing how the film holder and spooling mechanism is put together:


EDIT: 01.03.2018: Some more images taken with camera


Thursday 5 September 2013

My DUO

Late last year I saw some pictures of a prototype Polaroid TLR on flickr member "kkado" stream. I amongst others thought that the design had such promise, a Kickstart project would not be out of place. Some months later and our dreams were heard, Kevin Kadooka, a.k.a kkado, opened this project on Kickstarter. I was quick to add my pledge, indeed I was backer no.1

The camera is based on a Mamiya-Sekor C-series 105mm f3.5 lens pair from a Mamiyaflex/C2/C3/C22/C33/C220/C330 camera. And a CB-100/101/103 type back. Both of which the customers had to source themselves. The lenses are capable of covering a film area much larger than the 6x6 on the Mamiyas. They would however need removing from the mounting plate to accommodate a larger distance between the two, needed on the DUO. The DUO also requires the backs to have the mounting claws removed in order to be mounted on a DUO specific adapter. The adapter mounts on the DUO using magnets, and can be rotated 90 degrees for both portrait and landscape modes. Kevin also made available a back adapter for 120 roll film, which I have, but have not yet put together.

Kevin has been very professional, adding updates, opening a blog, putting out videos and establishing an own flickr group to aid us poor DIY'ers in assembling the kit.

Late June 2013 my DUO kit landed in Norway. Being away during the summer, the kit laid untouched until the end of August. I then went about building it. With the help of Kevin's instruction manuals, videos and blog posts I managed to put it together, and paint it, in a weekend.

The camera is big, no question about it. But it is light, only 1320 grams all included, back and film loaded. The viewfinder is big (97x97mm), but at least on mine a bit dim, especially around the corners (viewing lens vignettes at f3.5 I would surmise). I also have a hard time shielding the finder from light intrusions and reflections. I might have to invest in a large wide brimmed hat ;) But, I am still happy after having shot the first pack of film. It really is a different experience. Google Rolleiflex and Polaroid, and see how many have tried to combine the two, indeed some have. The DUO however is built for the task, and will cover the full 4.24x3.25" type 100 film with no problems. The added bonus is of course you can shoot 120 roll film up to 6x9 on it too.

This is what it looks like

My DUO, painted in Signal Red, with Mamiya-Sekor 105/3.5 black lenses and CB-103 back
From the first pack of film (FP3000B)

Double exposure (intentional), headstone and church stairs

Old Skoger Church, Skoger

Old Skoger Church, Skoger

For more information on the DUO:

http://duo-tlr.blogspot.no

http://www.flickr.com/groups/duo-tlr/

Friday 7 June 2013

Polaview camera

I originally bought a bare bones Polaroid 600SE body with a Polaroid Super Wide in mind. Ideally with a 65mm Mamiya Sekor or similar. But I never really got round to it. The body has been lying about for the best part of a year now. Then one night I dreamt of a Polaroid View camera, and thought the 600SE body might be be put to the task.

Understand that the bare bones body is just that, nothing but the frame, no front panel, no side or bottom panels, the view and rangefinder top gone, no nothing really. This meant that I had an awful lot of filling and sanding to do. The frame is mass of cavities and holes. In fact filling these and covering with leatherette took more than half the time of the build.

The body is mounted upside down, so the face to which the finder originally was attached is now mated to the base of the camera. The base has a slot front to back in which a slider with the front standard is mounted. All this is pretty simple stuff. No rack and pinion or other geared focusing mechanisms, just slide the front standard in and out. Though I have made concessions for a focus lock.

I then made a front standard and frame for the lens board, to which the bellows also are attached. The lens boards need to be custom made, they are considerably smaller than Linhof boards. Also, since the sliding mechanism dictates the lowest point the frame can rest, the middle of which is incidentally 4mm above the centre line of the camera, the lens mount need to be offset 4mm below the middle of the board.

The bellows also took a while. My first ever effort really. The first prototype was light tight, but too thick and way too stiff. The second is better. Made of black synthetic material, two layers with stiffeners in between. Not entirely light tight at first, so in order too make it light tight I coated the insides with Plasti-dip, which did the trick, and importantly - without affecting the suppleness. I then fashioned up an aluminium frame for mating with the front of camera body, and a balsa frame for mating with the frame for the lens board. It has approx 180mm of pull, and compresses to less than 10mm. The body is more than 50mm i depth, and there is another 6-7mm to the film plane once the back is mounted. Add another 20mm for the front frame and lens board and you in theory could mount a 90mm on the front of it, and still focus to infinity. There would be no movements at all however. Indeed the bellows limit movements considerably up to 127mm. Movements will be much improved at 135 and 150mm, which can also be mounted and focus down to less than 1m.

As it is, with a 127mm at infinity, there is 10mm rise (on plane, without tilt), no fall (unless with tilt, in which case up to 5mm), 45 degr tilt upwards, 15 degr tilt downwards, 5mm lateral shift left and right, and 30 degr swing. Movements improve dramatically at nominal close focus for the lens. Lateral shift, fall (with tilt) and downwards tilt most significantly.

I have yet to fork out for a proper Mamiya focusing screen, ground glass, for the camera. So until I have the means, I will make do with a glass I ground and cut down to size to fit in a used pack film cassette. With the back open and the back of the cassette removed, this works - though not overly well.


The Polaroid 600SE fasteners will allow all sorts of backs. Polaroid 100 type of course, but also 120 up to 6x9, and even 4x5 (though not with full coverage)

It is quite compact without back and carrying handle. Less than 130mm x 135mm x 160mm. And very light. Used as little materials as possible, and as light as possible. Weighs 840 grammes net, 1450 with Polaroid back and Tominon lens in Copal press shutter.

All work has been done with hand tools, and a drill.

Polaview, with 127mm Tominon (drawn out way past nominal close focus)


FP100C, Tominon 127mm f4.7, focused at 0.7m


FP 100C, Tominon 127mm f4.7,  slight forward tilt


Friday 19 April 2013

In time for the Worldwide Pinhole day?

Bad weather over the weekend tends to result in indoor projects of some sort. No backlog of film to develop or scan, so I had to find something else to do. What about a 4x5 Pinhole camera, might indeed be ready in time for Pinhole day on the 28th of April.

I used a well known recipe really, take a Bjurön plant pot from IKEA (same as for my other 4x5 DIY camera) and smack a 4x5 Graflok compatible back on it and you have the beginnings of a camera. Drill a hole in the other end and cover it with a piece of foil punctured by a pin, and there you have it. That would have taken but an hour or so. But I had to make things a bit more difficult for myself by adding an internal shutter, actuated by a release cable. In fact that took more than a few hours, indeed half the weekend. Worked fine indoors, but when I finally went out to take some test shots it failed. Which meant I had to use the dark slide as a shutter, giving questionable results. Needed to rethink the shutter construction some, and now it works.

Details:

  • Sinar 4x5 back, has the advantage of being very compact - and fits the Bjurön plant pot very nicely. 
  • 118mm focal length, 32mm 135/35mm film equivalent when shot on 4x5
  • First pin hole was 0.5mm (f236) - a bit on the big side.
  • Current pin hole is 0.4mm (f296)
4x5 Pinhole, shutter open
4x5 Pinhole. Cambo back. Shutter release cable enters body
Shutter as seen from the rear, slider with opening can be seen protruding on each side

First test shots on a DAYI 6x12 roll film back, awaiting delivery of some 4x5 film.

6x12 test shot, dark slide as shutter, 0.500mm pinhole

6x12 test shot, revised shutter and 0.400mm pinhole


Wednesday 28 November 2012

Caffenol Cookbook

I've been privileged to be part of a web publication collaboration on the subject of Caffenol.

Though not entirely finished at the time of the posting, it is not far from completion. Please note that it is in Flash format at the moment. Other more mobile/iPhone/iPad friendly formats will be available later.

The Caffenol Cookbook

Sunday 4 November 2012

I adore the I Adore

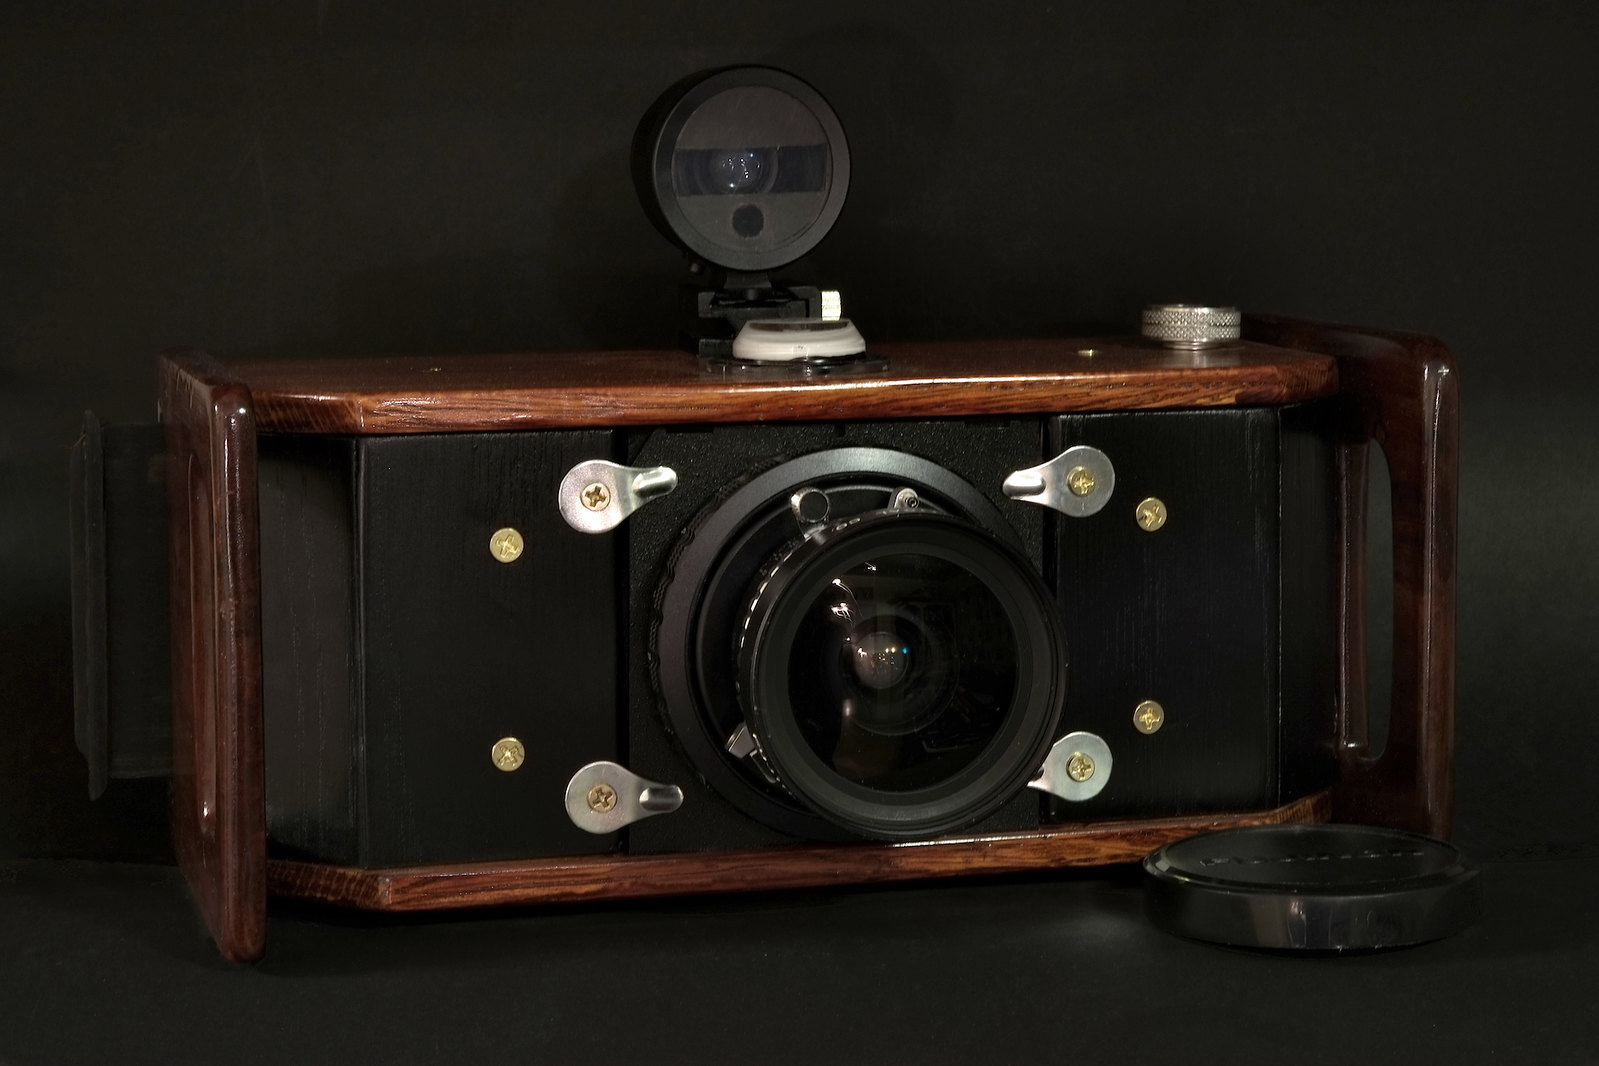
Though it worked fine from the get go, I have been tinkering a bit with the 6x17 "I Adore" camera over the last few months. Small things, some cosmetic, some practical. Made the light seals more substantial. Added a level and modified the finder mask to allow vieiwing of the level whilst composing. Added a tripod mount. Checked and adjusted the lens flange to film plane and other minor changes.

Still have to find a solution to films of variable thickness. The pressure plate works well with heavy duty Kodak films, but less so with the delicate Fuji films. Having said that, the picture of the palace below is sharp all across the frame, and it was shot on Acros. Maybe I need to stop worrying and just shoot more.


I Adore, DIY 6x17

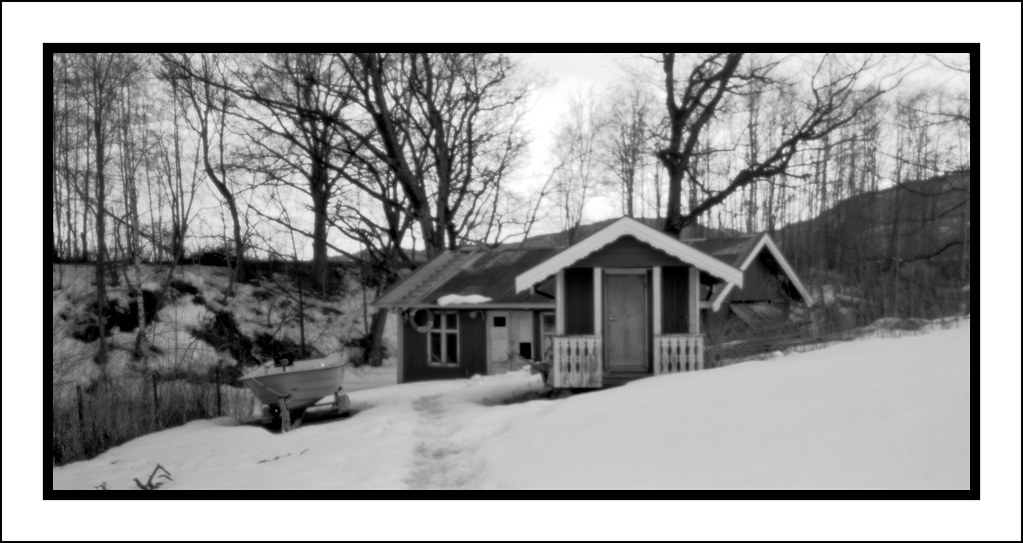
Norwegian Royal Castle, "I Adore" 6x17, Acros, Caffenol-C-M(RS)

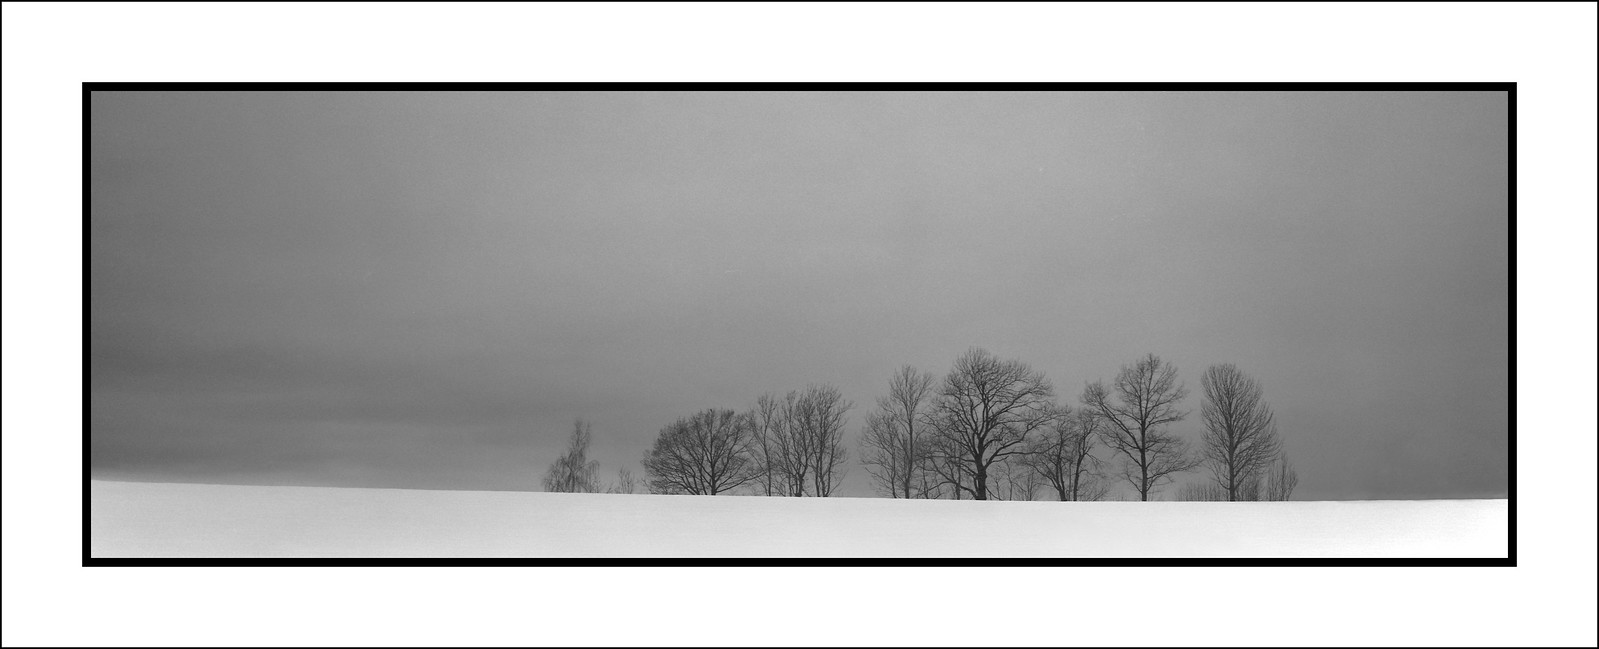
Trees in winter, "I Adore" 6x17, Portra BW400, Caffenol-C-H(RSA)